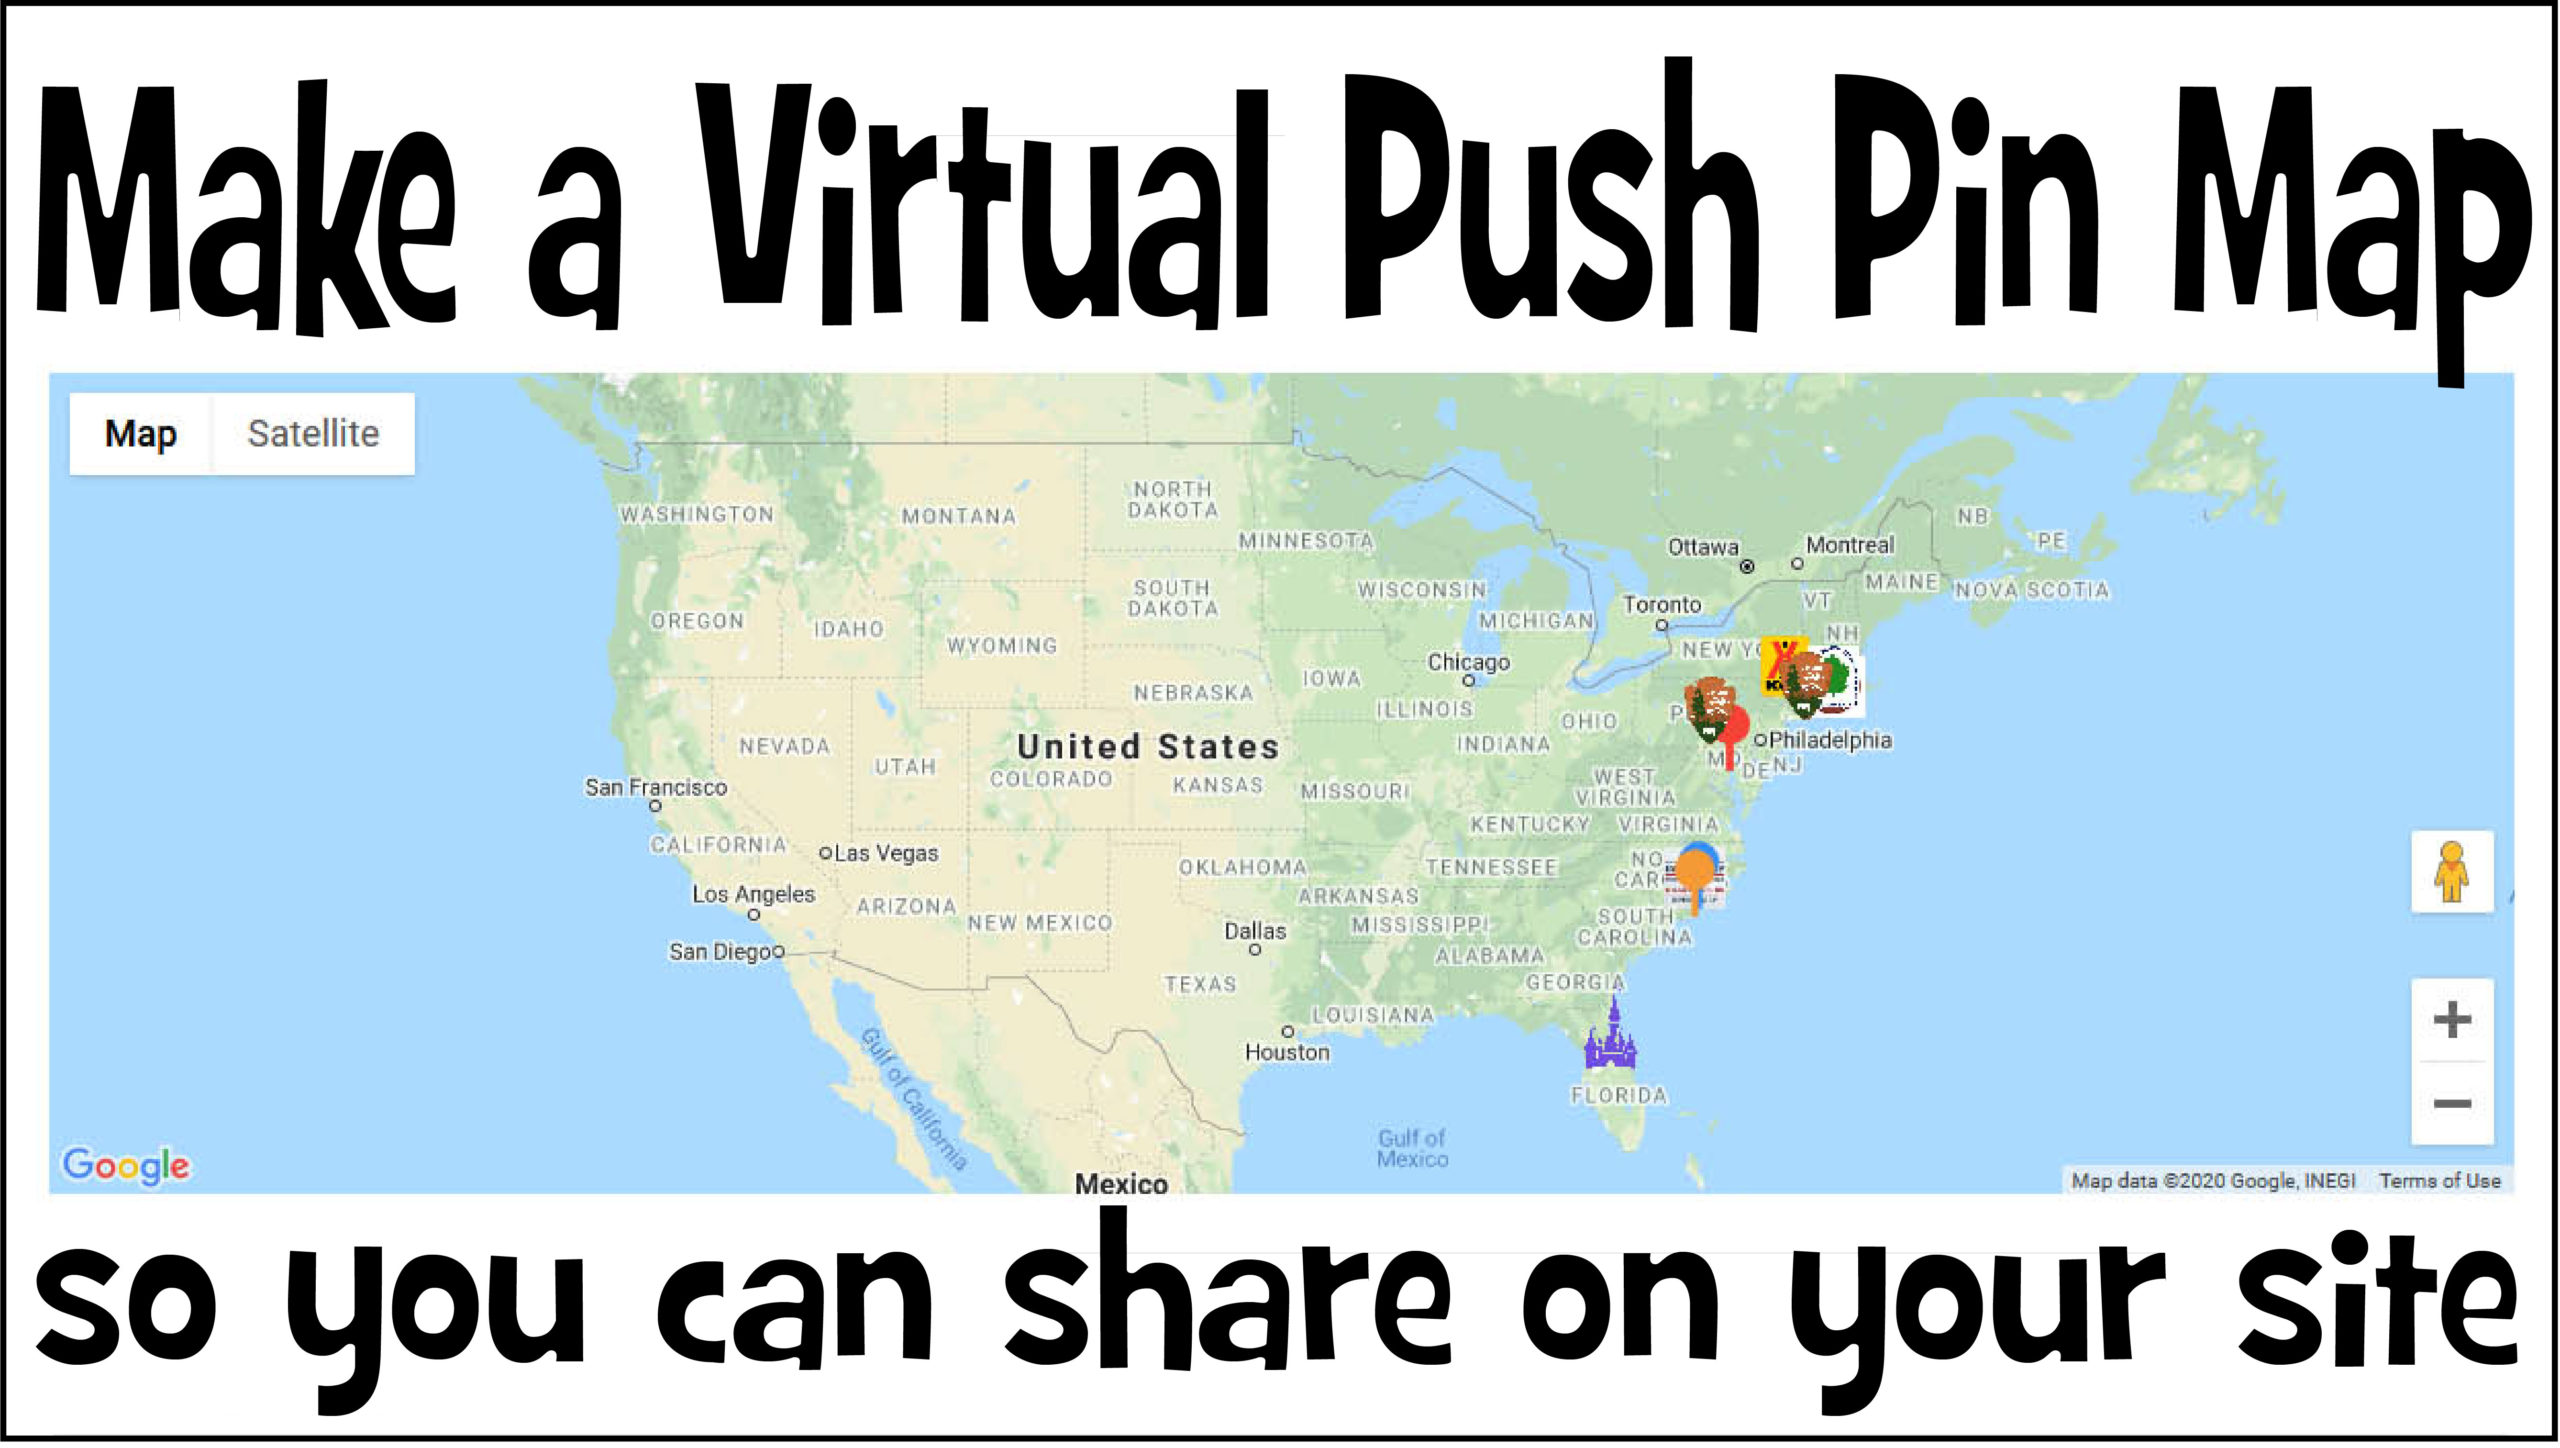
Hi Everyone. So I recently came across a really great website for making your very virtual push pin travel map. What’s a push pin travel map you may ask? Well, back in the old days people would take a physical map of a state or the whole country and then at every stop place a pin to mark where they have been. A virtual version is just that, done on the computer, so you can post it online to your website or make it shareable for friends and family to see and take part in your travels.
I searched for a while and came across SnazzyMaps.com while searching for a mapping tool to work with our WordPress website. They have a plugin available for WordPress and you can custom create your push pin travel map on their website using a whole host of features. They even have different styles of maps that can match up well with your website themes. Once done you just copy your code and place it on your website for all to see. Oh, and it’s FREE! A lot of other websites of this type were charging monthly subscription fees and one time fees. I wasn’t going to pay $15 a month to host a map.
So if you want to see how I created our Push Pin Travel Map scroll on down.
Alright, let’s get started. First thing you will have to do is create an account with Snazzy Maps.

With that out of the way you are now all set to begin creating your Virtual Travel Push Pin Map or any type of map for that matter.
Build a Map
Clicking on BUILD A MAP on the Snazzy Maps header brings you to the first step of making your map.

Here you can choose your “Style” of Map. There are a lot of them, so don’t feel overwhelmed.

You can then customize the size of the map, the center point and the zoom level. The Center Point is where the map centers when it loads. If you want it to be on your home town, you can set it to that. Zoom level will change how far in or out on the map it will be when it loads.

Once you have that set you can move on to adding your first map marker. Oh, and don’t worry, you can always go back and make adjustments to your settings.

Name your marker in the box. You can name it anything you want. I chose for this example, to name mine the Statue of Liberty Monument.
Next is the Location field. There are two options. If you know the Lat and Long enter those. If not, click on Search for a Location and you can type in your place of interest. As you can see below I typed in “statue” and the second result was the Statue of Liberty National Monument. I selected that and then moved on to choose my marker type.

Snazzy Maps gives you three different options for your map icon. The first one is the Default Google Map Icon. The second is a Styled Marker, which has a lot of choices to choose from. And finally, the third, which I circled is the Custom Marker Icon option. I chose this for most of our icons. I feel it adds a great touch to our map.

When you click on Custom Marker you will get an upload box. Navigate to your folder for a stored icon and select your icon. It will automatically load into the preview and be put on the map as you can see below. You can modify the height and width of the icon and it’s anchor points. Once you are all done click on apply changes and Snazzy Maps will save your map Icon.

As you can see below, our new marker is now listed in the Markers field. Now you can customize your marker and how your site visitors can interact with it.
You can click on the Box Icon in green on your specific marker and this will enable you to add or edit your marker pop up box. This is great if you want to talk about this specific location or link to any reviews or blogs you may have posted about this site.
Another great feature is immediately to the left. It is a compass dial and if you click on this icon your map will load with this marker point as your map center. This is great if you want your map to load for your most recent travel destination marker for your blog visitors.

When you come to the Pop Up option for your map marker make sure you enable it. Click on the slide button at the top and onec you do that the customizable fields will populate below.
You can then customize your Pop Up. There are different themes to choose from. You can change the background color of the Pop Up and it’s font color and then below is the editing box where you can type in your information about your map marker. There are a lot of options so play around with them and find a setting that works for you.

Scrolling down farther you can then adjust the position of the Pop Up when your site visitor clicks on the map marker. You can have it open to the top, left, bottom or right of your map marker. Below that is more Advanced Settings which allow you to customize your map and how your information is shared. Once you are done customizing your map marker click on Apply Changes and your map marker is all set. You can then move on to adding an additional marker or saving your map and getting it ready to publish on your website.

To save your map simply click on the Disc Icon between your settings field and map field.

You’re almost done! It’s now time to name your Map. Once you come up for a name for your map the final step is enter in a Google Maps API Key. Most websites come with an API key that you can find in your dashboard. If not, click in the blue box to be brought to Google’s Developer page to register for an API key. You won’t be able to publish your map without it. Once you enter your API key just click save and your map is now ready to be published.

Click on the View Code Icon below the Disc Icon. At the bottom will be your Snazzy Maps html code. Just click on Copy Code to Clipboard and navigate to where you want to put it on your website and just paste it in. That’s It! you’ve now made your very own Virtual Travel Push Pin Map. Great Job!

Recap
As you can see it’s not that hard to make a really great looking virtual push pin map. And even once you are finished, you can always go back and add more map markers. Once you are done just save the map and it will auto populate the new markers on your map. No need to recopy the code and paste it in your site again. I love the fact that you can customize the map Icons to add some flare to your map that truly makes it your own. Additionally the pop up windows are great for providing details and information to your site visitors.
To see our Push Pin Map Click here.
We also have a map just for our National Parks that we visited.
I have to say that this mapping site is definitely top notch and the fact that it is free is the best part. If you have any questions please leave a comment down below and I’ll get right back to you. Happy travels and mapping!
Stay Lost,
JP


